
Red Kuri Squash and 2 Delicious Recipes Using It
Red kuri squash is something I first tried a few years ago. And since then, each fall I look forward to its return. It’s unlike any other squash in that it’s flavor is mild and reminiscent of chestnuts! In this post I’m going to talk about red kuri squash, the best way on how to prepare it and give two really good recipes using this beautiful squash.
Red Kuri Squash
Red kuri squash is a member of the Hubbard squash family. It’s small to medium in size with thin orange skin. Once cooked the skin is edible. The squash has a shape like a teardrop and the flesh is yellow and creamy. Red kuri squash like other winter squashes are an excellent source for vitamin A, vitamin C, vitamin Bs, iron, calcium, potassium and beta-carotene.
How To Prepare Red Kuri Squash
My favorite way to prepare red kuri squash is to just poke a few slits into the squash and bake in a 375 to 400 degree oven for 40 minutes.

I’m a little lazy when it comes to squashes so this method works really well for me. When I take the baked squash out of the oven it’s so easy to peel the skin off and very easy to scoop out the seeds. You also have the option to cut the squash first into halves or wedges and bake that way. The seeds can be scooped out and toasted (just like pumpkin seeds).
If you want to use the seeds inside the red kuri squash, baking it whole would only steam the seeds. To be able to toast the seeds to use for future use, you would have to remove the seeds first and then bake the squash.
Red Kuri Squash Recipes
The recipes I have below do a great job at celebrating the red kuri squash. The ingredients are few but the flavors are on point and the true creamy taste of the squash can be recognized in both recipes. Both recipes are plant based however only one recipe is gluten free which is the soup.
Recipe Number One
Creamy Red Kuri Squash
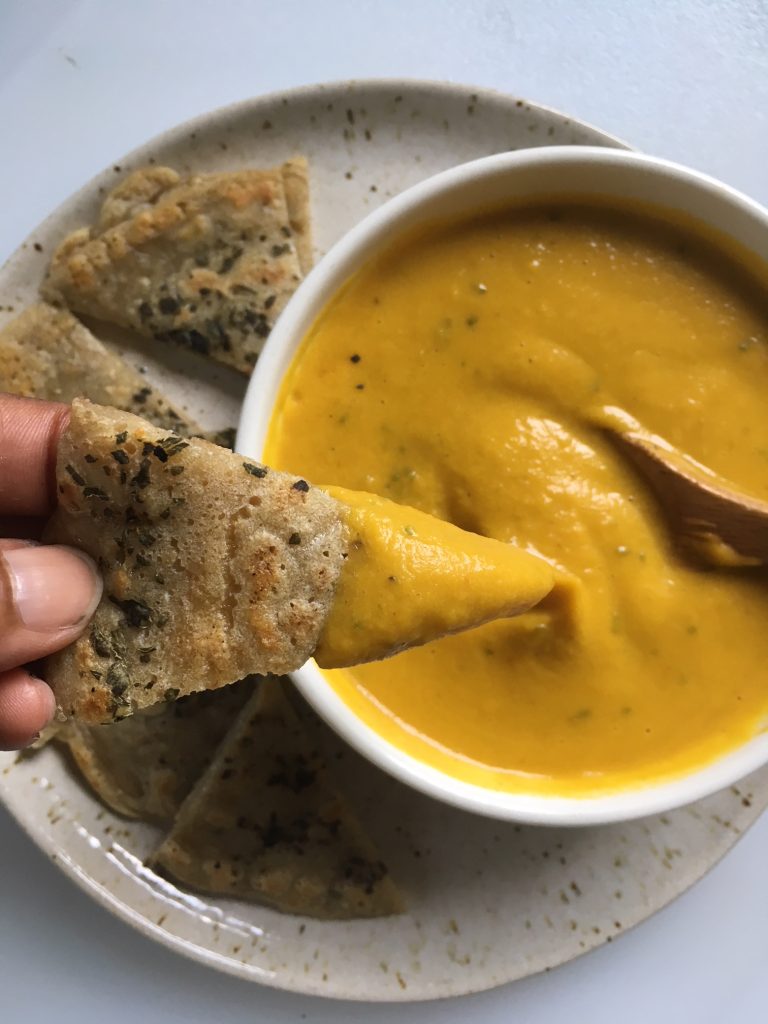
This soup is easy to make and so favorable. The smokiness from the sea salt blends makes a nice counterbalance with the slightly sweet mild taste of the red kuri squash.
In case you haven't prepared the squash in advance. Take a thoroughly washed kuri squash, poke some slits in it and pop in a 375 degrees oven for 40 minutes.

When the squash comes out of the oven let it sit for about 5 minutes. Then peel the squash and place the flesh in a bowl.


Before using the onions, you want to caramelize them. Take a small fry pan and put the cut onion in a fry pan that's slightly drizzled with olive oil and sauté them. To help caramelize the onions a tiny bit of maple syrup can be used, about a teaspoon. If the onions start to dry out while sautéing them add a little bit of water. It should take about 10 minutes for the onions to be ready.
In a blender add the water, non dairy milk, squash, caramelized onions, olive oil and seasonings.
Blend all the ingredients together till smooth
You can serve the soup right from the blender or you can pour the soup into a pot and warm the soup up. I poured my soup in a small pot and added a garnish of nettle leaf that I stirred into the soup. I also paired my soup with some sourdough nettle cheese quesadillas using my throw away starter and raw cheddar cheese as the cheese.

I tend to like my soup this consistency so if you prefer it a little thinner add a little bit of filtered water.
Ingredients
Directions
In case you haven't prepared the squash in advance. Take a thoroughly washed kuri squash, poke some slits in it and pop in a 375 degrees oven for 40 minutes.
When the squash comes out of the oven let it sit for about 5 minutes. Then peel the squash and place the flesh in a bowl.
Before using the onions, you want to caramelize them. Take a small fry pan and put the cut onion in a fry pan that's slightly drizzled with olive oil and sauté them. To help caramelize the onions a tiny bit of maple syrup can be used, about a teaspoon. If the onions start to dry out while sautéing them add a little bit of water. It should take about 10 minutes for the onions to be ready.
In a blender add the water, non dairy milk, squash, caramelized onions, olive oil and seasonings.
Blend all the ingredients together till smooth
You can serve the soup right from the blender or you can pour the soup into a pot and warm the soup up. I poured my soup in a small pot and added a garnish of nettle leaf that I stirred into the soup. I also paired my soup with some sourdough nettle cheese quesadillas using my throw away starter and raw cheddar cheese as the cheese.
I tend to like my soup this consistency so if you prefer it a little thinner add a little bit of filtered water.
Recipe Number Two
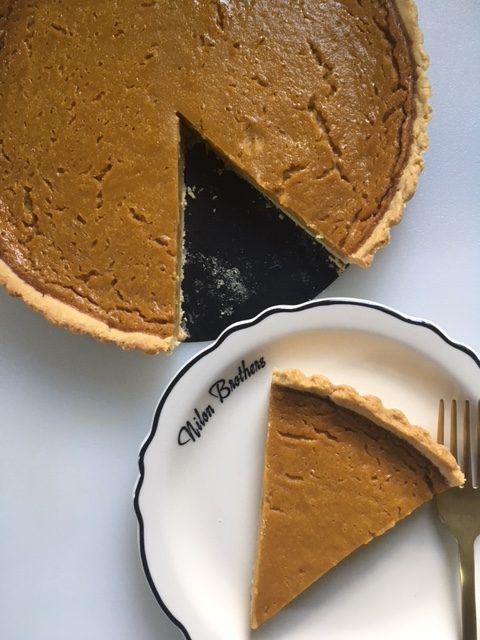
The next recipe is a sweet one. This is like a honey pie but you can definitely taste the red kuri squash. You can also turn this into a Honey Salted Red Kuri tart by adding some maldon flake salt on top the finished tart, which I will definitely be doing next time!
Honey Red Kuri Tart
The honey and mild chestnut flavor of the red kuri squash goes so well together. The honey shines through but the creaminess and flavors of the squash clearly stills the show.
This tart crust is pretty simple to make and is basically a pie crust.
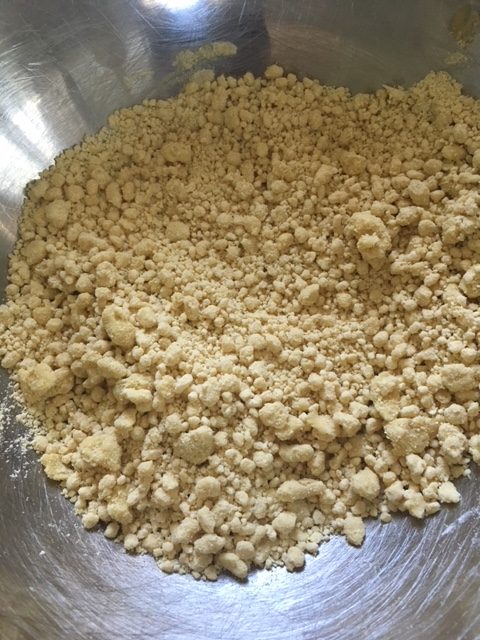
Blend the flour, sea salt and coconut oil together with a fork. It should resemble little crumbles.
Once that comes together. Pour 1 tablespoon of very cold water into the flour mixture until it all comes together and you can form a ball with the dough.

Roll dough out into a 10 inch circle and press into a 9 inch tart pan, cutting off any dough over hang.

Place the crust filled pan in the freezer for at least 15 minutes to set.
The next step is to prebake the tart crust.
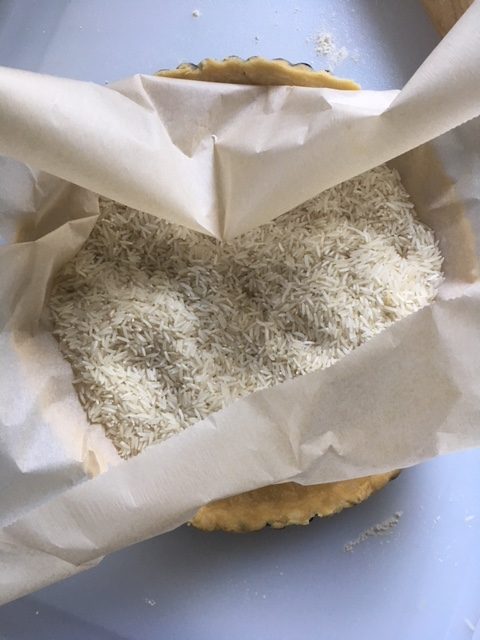
After letting the crust sit in the freezer to set, place a piece of parchment in the middle of the crust and fill it with pie weights, beans or rice. I used rice. This is so that the tart crust maintains its shape during the prebaking process.
Bake crust in a 375 degree oven for 15 minutes. While baking the crust, the filling can be prepared.
Mix the 2 tablespoons of kuzu starch with 4 tablespoons of cold filtered water. Thoroughly dissolve the starch into the cold water. I use the bamboo whisk I use for my matcha. Place to the side.
Place inside a blender in this order the non dairy milk, cooked squash, honey, sea salt, vanilla and the mixed kuzu starch. Blend till it all comes together.

The crust should be finished baking by now. Take the prebaked tart crust out of the oven. Do not turn off the oven.
Place the tart pan on a cookie sheet and pour the filling inside the pre baked crust.
*I didn't let the crust cool first before pouring in the filling.
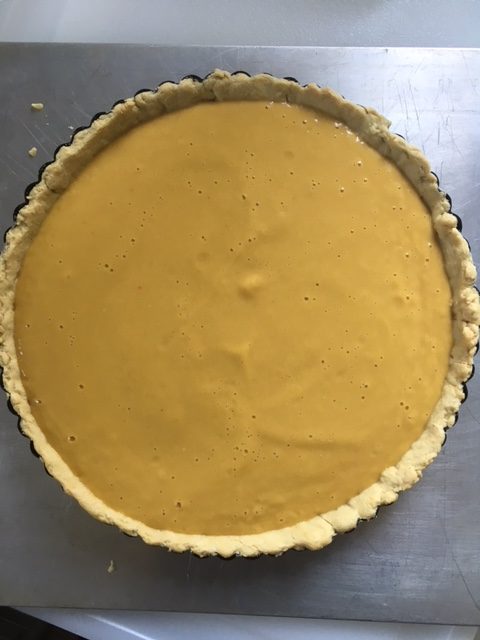
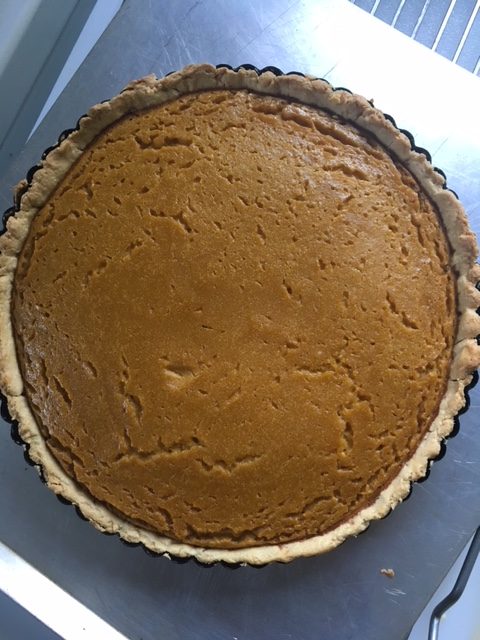
Bake in the same 375 degree oven for 40 minutes.
After 40 minutes the tart will be set and look like this.
The tart must cool completely before cutting into it. Any leftovers should be stored in the refrigerator.
The tart tastes amazing cold and I had a slice the following morning with a nice cup of matcha latte. 🙂

Ingredients
Directions
This tart crust is pretty simple to make and is basically a pie crust.
Blend the flour, sea salt and coconut oil together with a fork. It should resemble little crumbles.
Once that comes together. Pour 1 tablespoon of very cold water into the flour mixture until it all comes together and you can form a ball with the dough.
Roll dough out into a 10 inch circle and press into a 9 inch tart pan, cutting off any dough over hang.
Place the crust filled pan in the freezer for at least 15 minutes to set.
The next step is to prebake the tart crust.
After letting the crust sit in the freezer to set, place a piece of parchment in the middle of the crust and fill it with pie weights, beans or rice. I used rice. This is so that the tart crust maintains its shape during the prebaking process.
Bake crust in a 375 degree oven for 15 minutes. While baking the crust, the filling can be prepared.
Mix the 2 tablespoons of kuzu starch with 4 tablespoons of cold filtered water. Thoroughly dissolve the starch into the cold water. I use the bamboo whisk I use for my matcha. Place to the side.
Place inside a blender in this order the non dairy milk, cooked squash, honey, sea salt, vanilla and the mixed kuzu starch. Blend till it all comes together.
The crust should be finished baking by now. Take the prebaked tart crust out of the oven. Do not turn off the oven.
Place the tart pan on a cookie sheet and pour the filling inside the pre baked crust.
*I didn't let the crust cool first before pouring in the filling.
Bake in the same 375 degree oven for 40 minutes.
After 40 minutes the tart will be set and look like this.
The tart must cool completely before cutting into it. Any leftovers should be stored in the refrigerator.
The tart tastes amazing cold and I had a slice the following morning with a nice cup of matcha latte. 🙂


You May Also Like
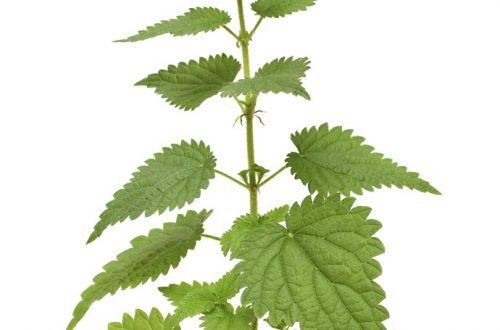
The #1 Health Saving, Money Saving Herb!

Heirloom Tomato and Arugula Pesto Turnovers