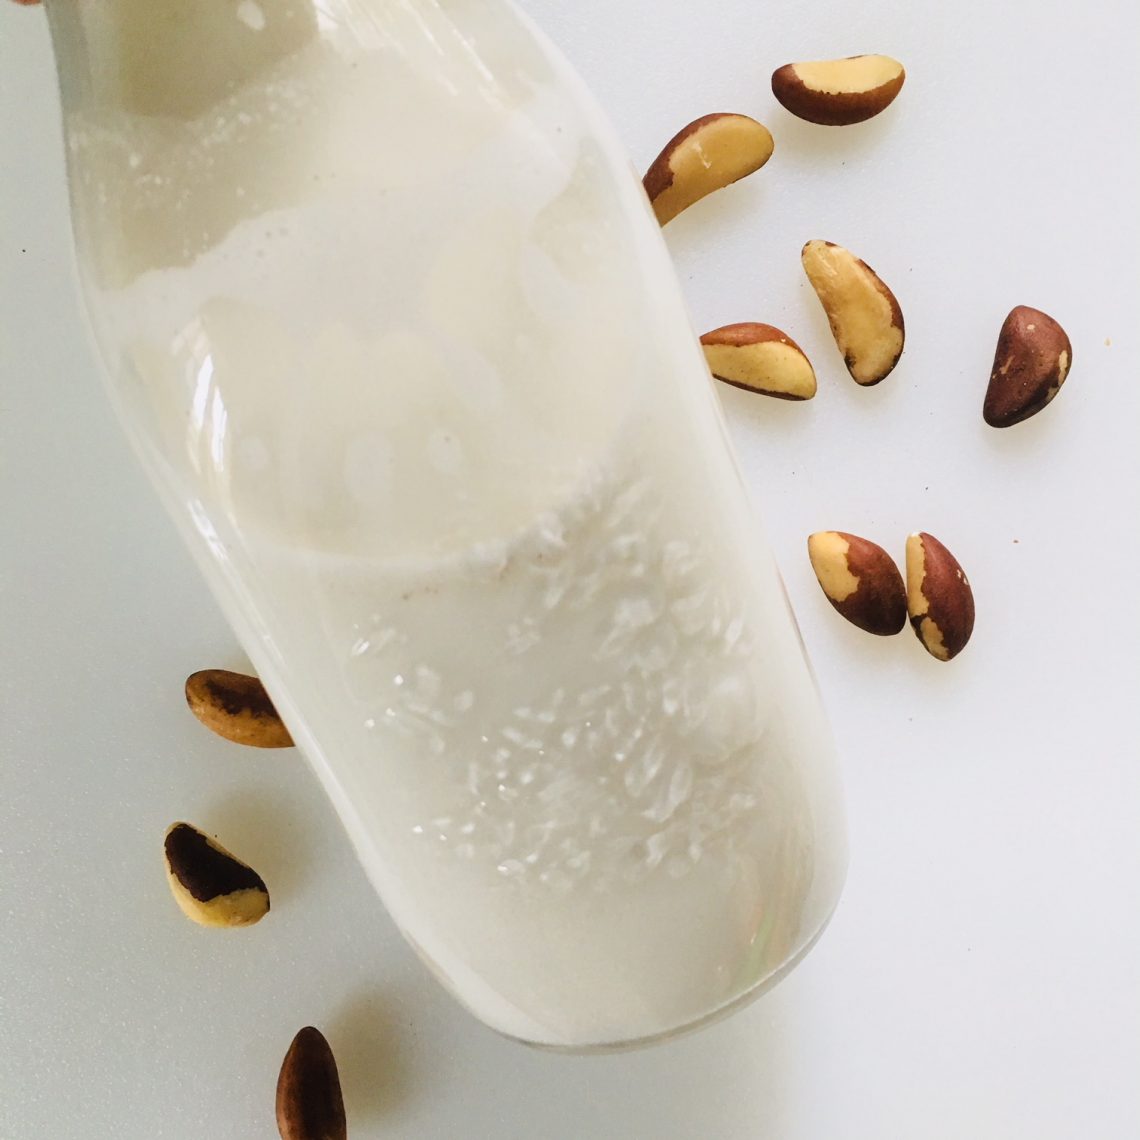
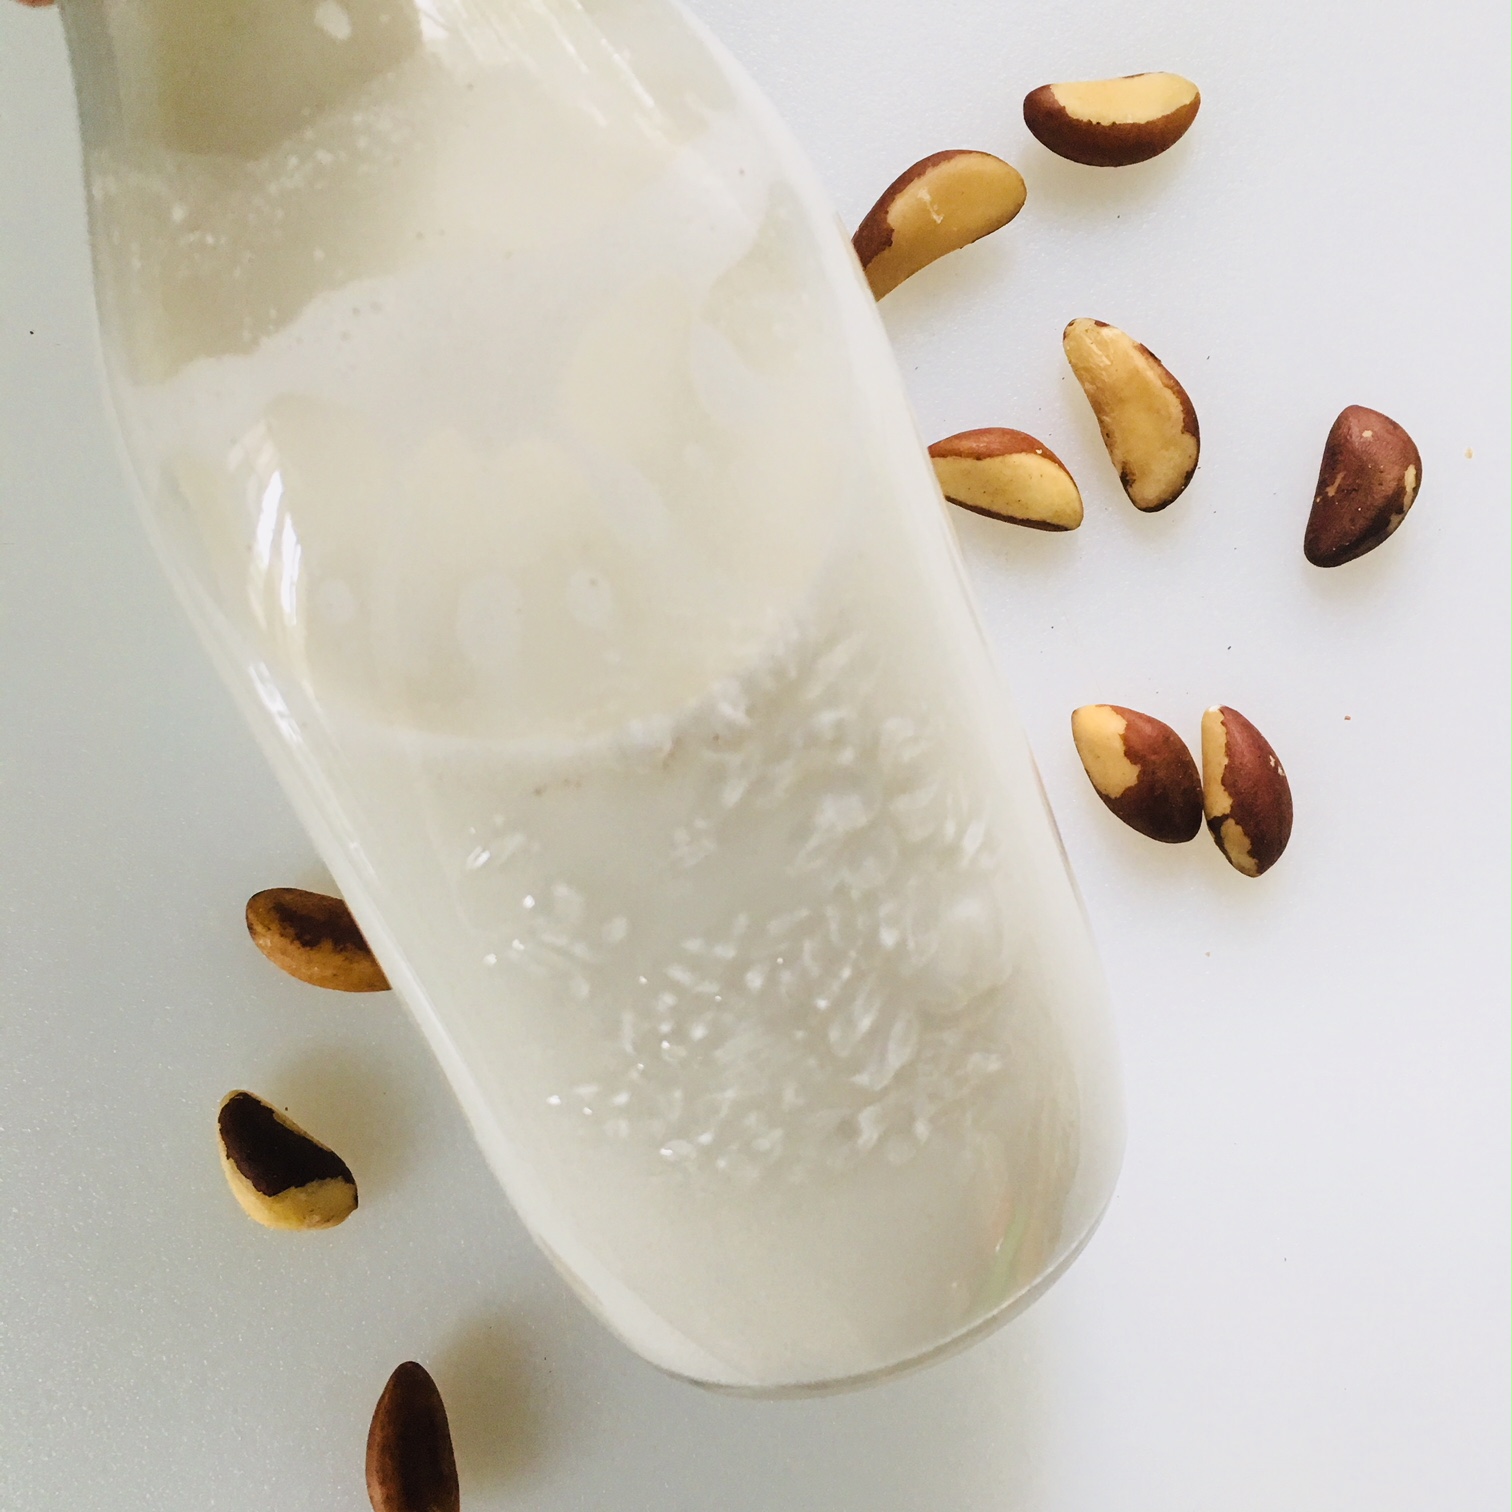
Brazil Nut Milk
This is a super easy recipe on how to make Brazil nut milk. Brazil nut milk is a great substitution for dairy milk, especially when making dishes which cause for a creaminess that almond milk just doesn't give.
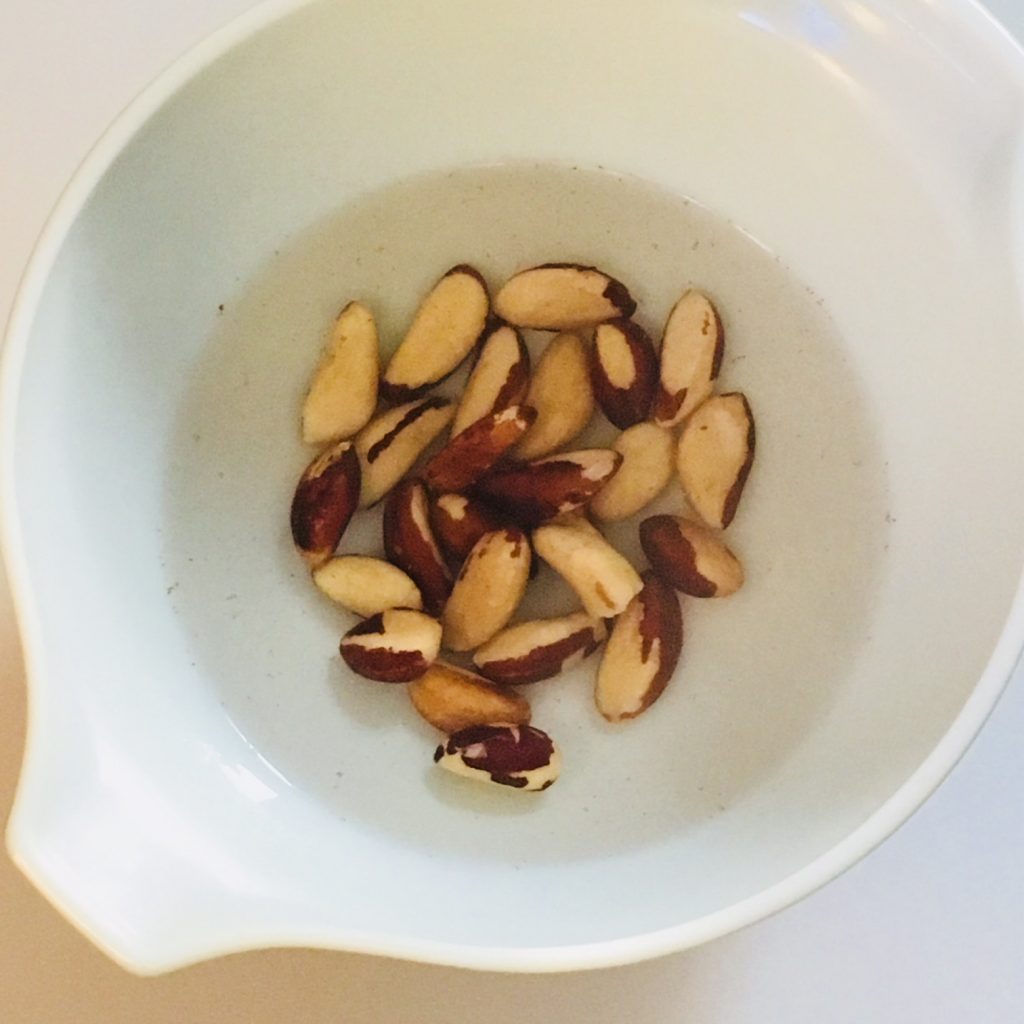
Place Brazil nuts in a heat proof bowl. Heat filtered water till boiling and pour over the brazil nuts. Place some plastic wrap over the bowl and let the nuts soak overnight.
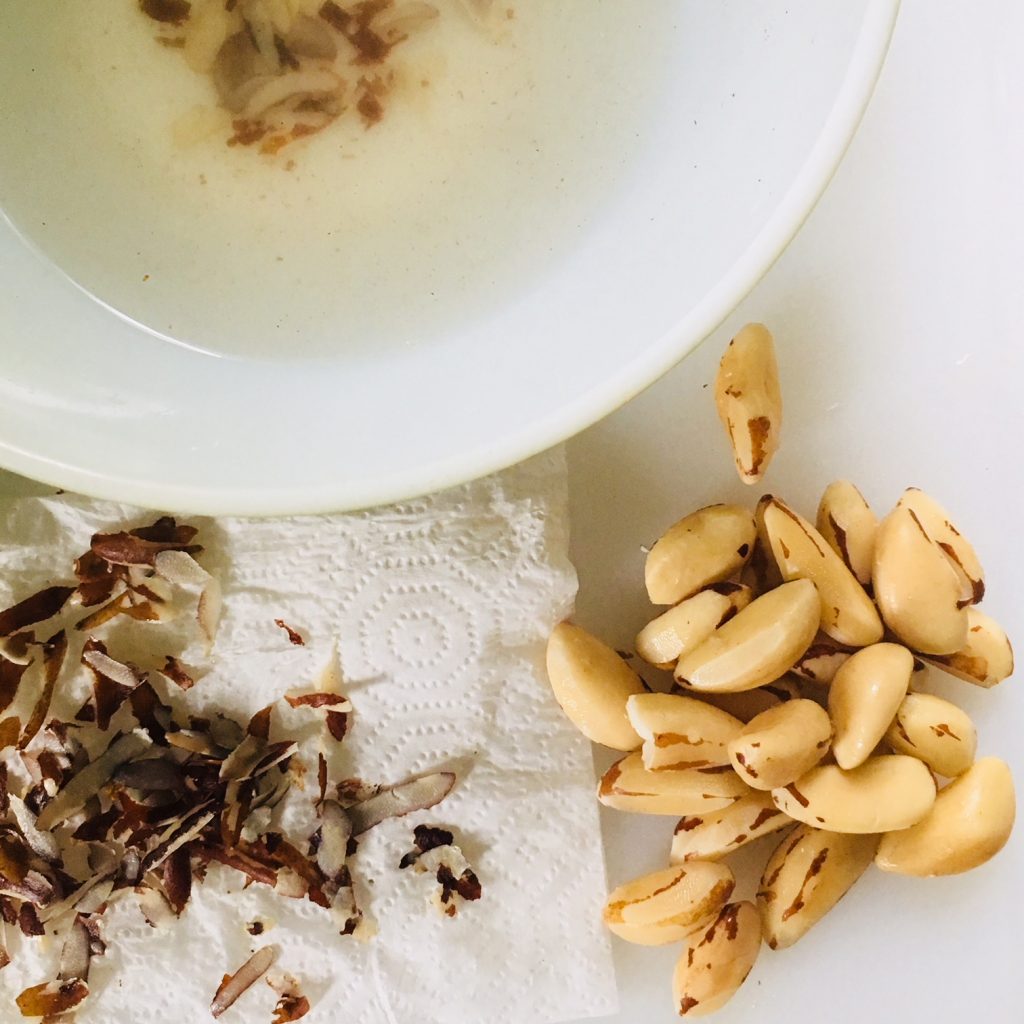
The next day you will notice some pieces of the brazil nut skin floating in the water, which is good. Drain the nuts from the water.
Now to remove the outer layer skin of the brazil nuts.
You can skip this step if you want. However I feel taking off most of the brazil nut skin produces a better tasting nut milk and it really doesn't take that long to scrap off.
Here's a tip: I press lightly with a potato peeler to remove the skin being careful not to remove any nut. And sometimes I just use my finger nail.
Put the nuts in a blender with 4 cups of filtered water.
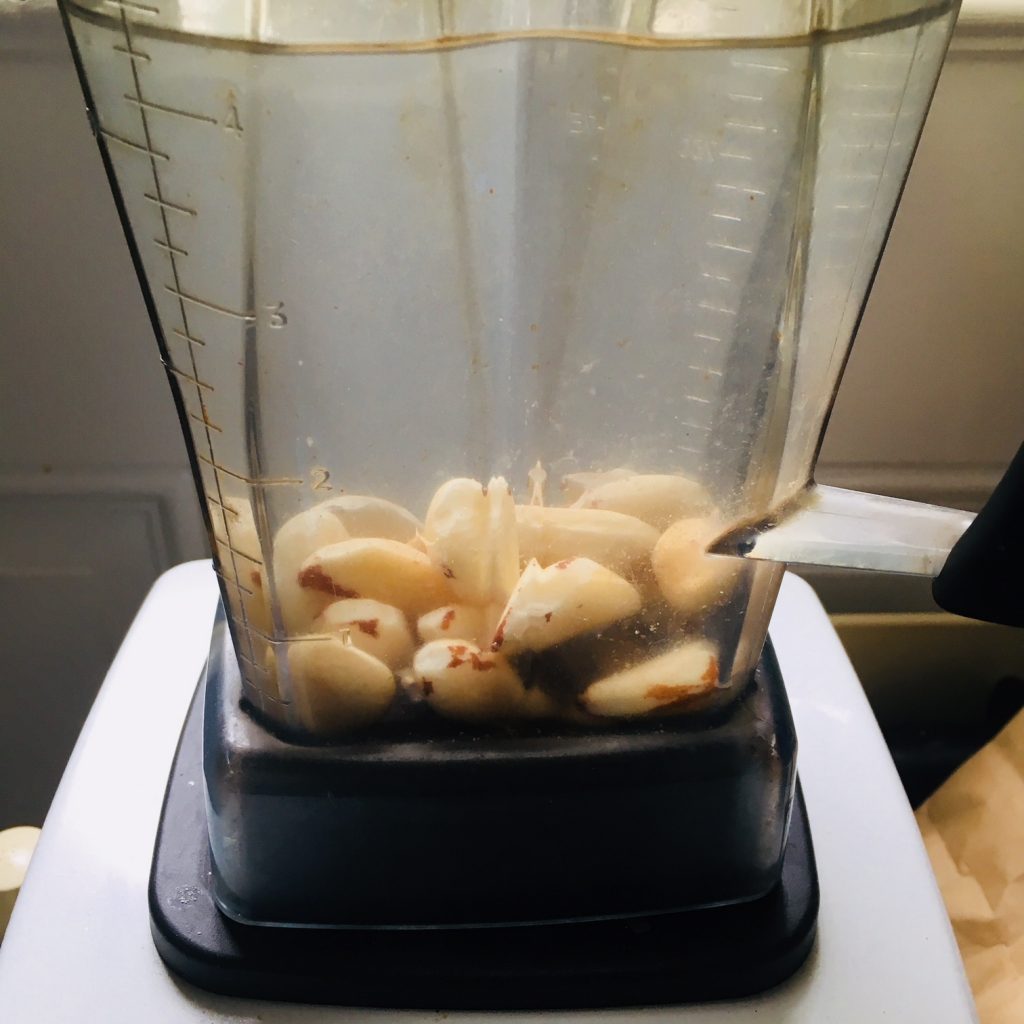
Blend for a couple of minutes till you get a frothy mixture.
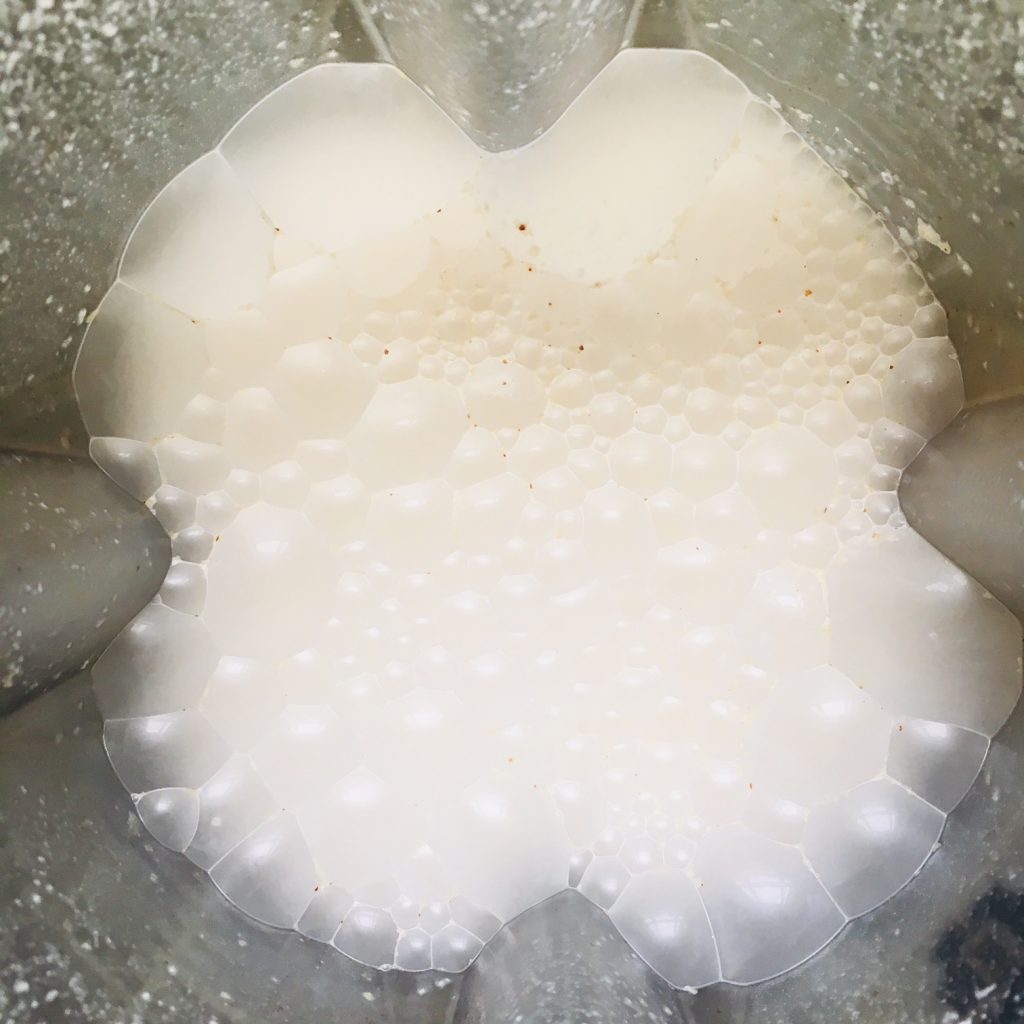
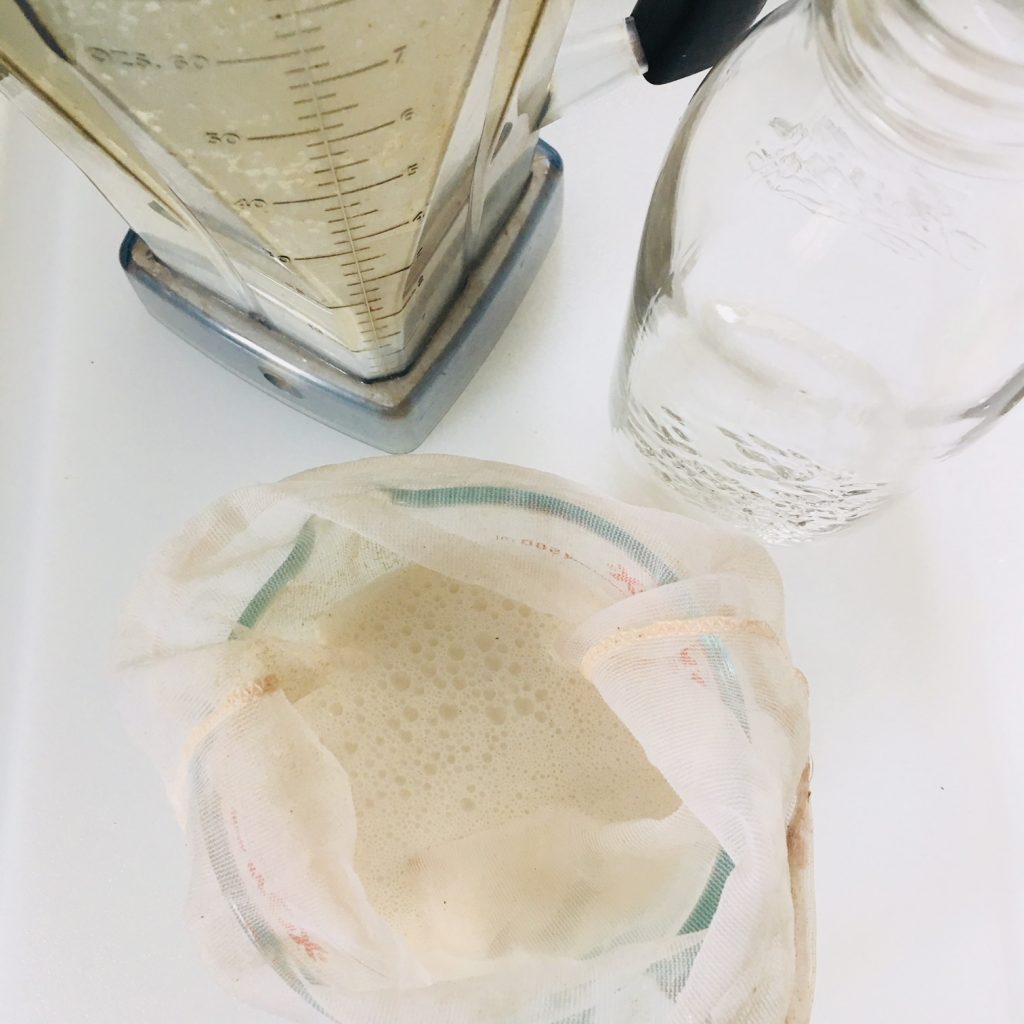
Make sure you have a nut bag, liquid measuring cup and a glass beverage container ready.
Strain the nut milk using a nut bag or cheese cloth.
To do this, place a nut bag in a liquid measuring cup. Then pour a cup of nut milk at a time. Squeeze the bag to remove all the milk from the nut pulp. Pour the liquid in the glass beverage container. Empty the nut pulp in a separate container. Repeat this step till all the nut milk is strained.
*I find the straining process easier to do it in a liquid measuring cup because there's a spout to prevent any messes when pouring the nut milk into a container.
The nut pulp can be saved and used to make homemade granola, cookies or a tart crust. Look out for a couple of recipes I'll be sharing soon using nut pulp.
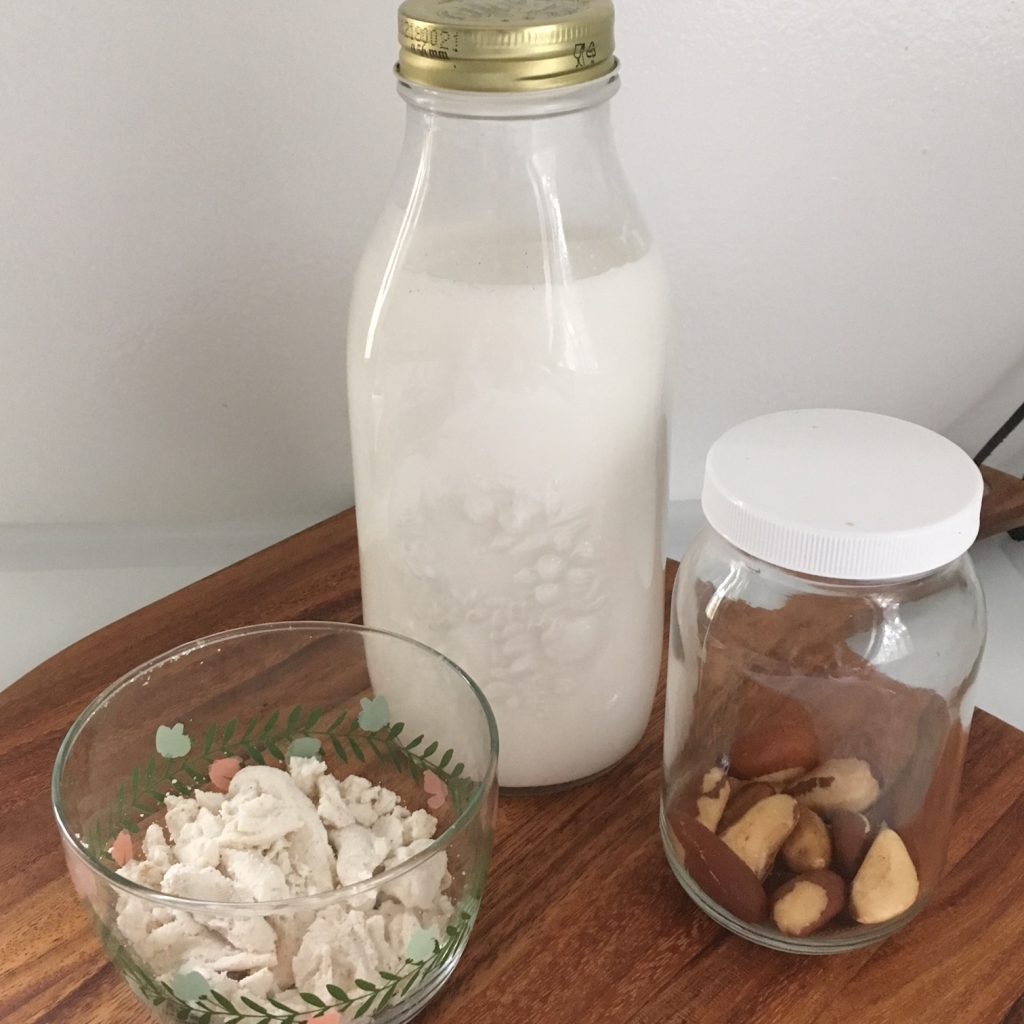
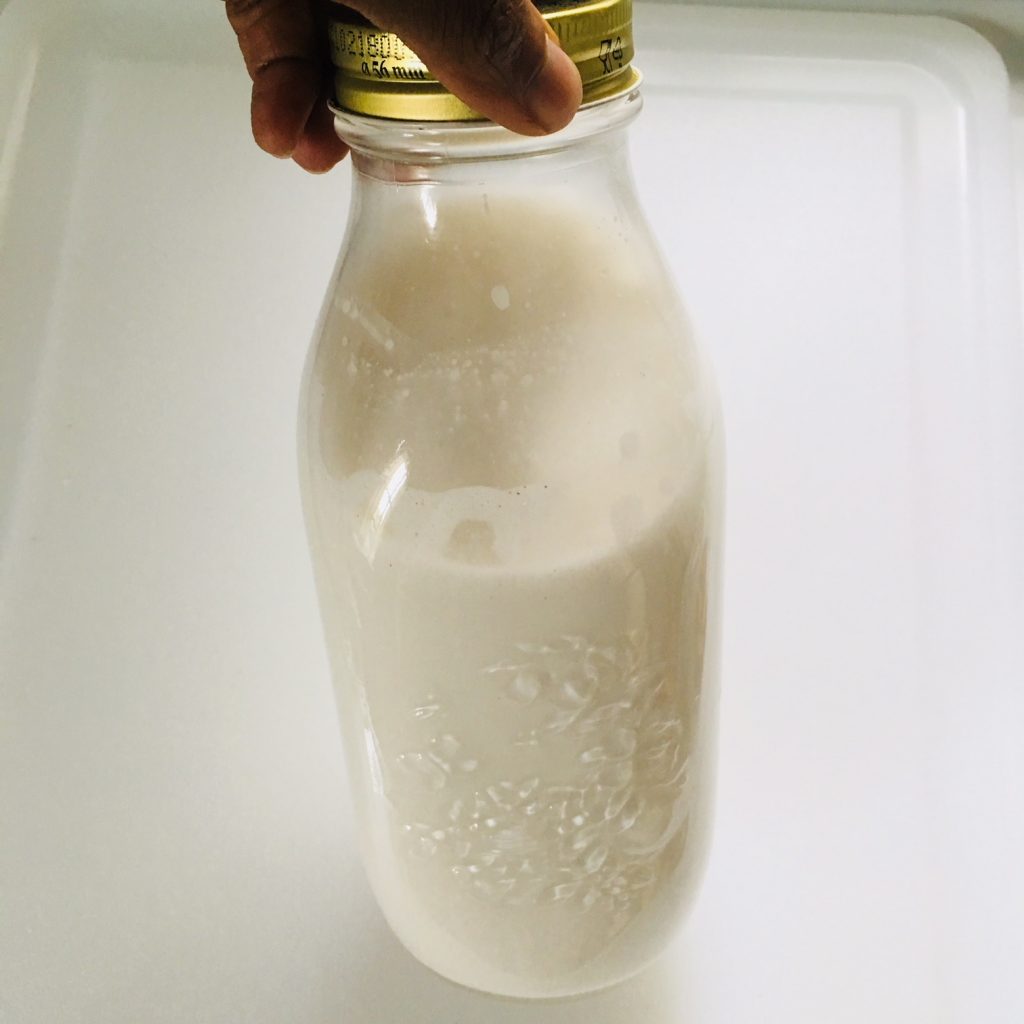
And there you have it....Brazil nut milk!
The nut milk will keep in the refrigerator for about 4 to 5 days. It's important to shake the milk before using due to some separation occurring during storage.
Ingredients
Directions
Place Brazil nuts in a heat proof bowl. Heat filtered water till boiling and pour over the brazil nuts. Place some plastic wrap over the bowl and let the nuts soak overnight.

The next day you will notice some pieces of the brazil nut skin floating in the water, which is good. Drain the nuts from the water.
Now to remove the outer layer skin of the brazil nuts.
You can skip this step if you want. However I feel taking off most of the brazil nut skin produces a better tasting nut milk and it really doesn't take that long to scrap off.
Here's a tip: I press lightly with a potato peeler to remove the skin being careful not to remove any nut. And sometimes I just use my finger nail.

Put the nuts in a blender with 4 cups of filtered water.

Blend for a couple of minutes till you get a frothy mixture.

Make sure you have a nut bag, liquid measuring cup and a glass beverage container ready.
Strain the nut milk using a nut bag or cheese cloth.
To do this, place a nut bag in a liquid measuring cup. Then pour a cup of nut milk at a time. Squeeze the bag to remove all the milk from the nut pulp. Pour the liquid in the glass beverage container. Empty the nut pulp in a separate container. Repeat this step till all the nut milk is strained.
*I find the straining process easier to do it in a liquid measuring cup because there's a spout to prevent any messes when pouring the nut milk into a container.

The nut pulp can be saved and used to make homemade granola, cookies or a tart crust. Look out for a couple of recipes I'll be sharing soon using nut pulp.

And there you have it....Brazil nut milk!
The nut milk will keep in the refrigerator for about 4 to 5 days. It's important to shake the milk before using due to some separation occurring during storage.

Notes


